Air Suspension Compressor Pump For Ford Expedition Lincoln Navigator
1998-2006USD $130.16
Condition : New
Free Shipping

Notify me when the price drops
We will email you if we find a lower price on this product!
*OEM Part Number:
6L1Z5319AA 1L1Z5319AA 1L1Z5319BA 6L143B484AA
*Compatibility Chart:
1, You can distinguish specific model of an automobile by VIN(Vehicle Identification Number).
2, VIN(Vehicle Identification Number) consists of total 17 English letters and arabic digits.
3, VIN does not include the letters I (i), O (o), and Q (q) (to avoid confusion with numerals 1 and 0).
1997 - 2006 Ford Expedition
1998 - 2006 Lincoln Navigator
Note:1997-2002: 4WD models use two air lines, while 2WD models use only one air line
2003-2006: use only one air line regardless of 4WD or 2WD
*Generation & Evolution:
Ford Expedition
UN93 First generation (1997-2002)
U222 Second generation (2003-2006)
U324 Third generation (2007-2017)
U553 Fourth generation (2018-present)
Lincoln Navigator
Based directly on the Ford Expedition
UN173 First generation (1998-2002)
U228 Second generation (2003-2006)
U326 Third generation (2007-2017)
U554 Fourth generation (2018-present)
*Platform Drive Layout:
Base Model-Rear Wheel Drive Layout
4Matic Model-Four Wheel Drive Layout
*Removal Guideline:
Caution: Damage to the vehicle and air suspension system can be incurred if work is carried out in a manner other than specified in the instructions or in a different sequence.
1.To avoid the possibility of short circuits while working with electric components consult your owner's manual on how to disconnect your battery.
2.Consult your vehicle owner's manual, service manual, or car dealer for the correct jacking points on your vehicle and for additional care, safety and maintenance instructions. Under no circumstances should any work be completed underneath the vehicle if it is not adequately supported, as serious injuries and death can occur.
1.Set steering to straight.
2.Raise vehicle.
3.Remove the front skid plate from underneath the vehicle to expose the air suspension’s compressor.
4.Locate and remove the air line from the compressor. Remove the air line fitting from the air line and discard.
5.Locate and remove the two(2)electrical connectors from the compressor.
6.Pinch and slide the clamp off of the fitting to remove the larger rubber hose from the compressor.
7.Locate and remove the three(3)mounting nuts holding the compressor to the vehicle.
8.Remove the compressor and mounting hardware from the vehicle.
*Installation Guideline:
Installation is in reverse order of air suspension compressor pump removal.
*Warning & Notice:
1.When the air compressor being replaced, the matching relay must be replaced according to the corresponding vehicle. If there is something wrong with the relay which leads the compressor to continuous operation without any break, it will burn out the electric motor or other plastic part.
2.When the air compressor being installed, the critical parts such as rubber shock pad and damping spring must be fully fixed on the stand without short installation or missing installation (The air compressor is unequipped with parts). With the anti-vibration parts of short installation or missing installation, a loud noisy instance will happen when the air compressor is working for the sake of resonance.
3.Distribution valve, shock absorber, air tank and tube connector must be checked after air compressor installed to ensure air-tightness. The lifespan of the air compressor will be shortened if the leakage exists.
4.Increased noises while the compressor is running may be caused by a non-functioning compressor mounting. Change the rubbers and springs of the mounting in any case.
5.A porous intake hose often is the cause for a breakdown of the compressor. Change the intake hose and preferably also the filter and noise absorber, because we do not want the compressor to breakdown because of these.
6.Change the relays before installing the compressor even if it seems to still work. This is also a specification by the car manufacturer. Be sure to change the right relays. Relays look similar, that is why there is a risk to change the wrong relays.
7.Be sure to check whether the system is leakproof after repairing. The easiest way to do this is to park the vehicle. Wait for the system to automatically re-adjust if your car has this feature. Then measure the heights from the ground to the lower edge of the fender as exactly as possible and take notes. On the day after measure these heights again and compare them with the ones before. Even a small difference will lead to a damaged compressor and damaged valves in the long run.
Item SpecificsPlacement on Vehicle Left Right Front RearSize Single Dimension(CM) 32.00(length)*25.00(width)*22.00(height)Single Weight(KG) 4.77Included Hardware CompressorPackage BoxLubrication Style Oil-FreeDrive Layout Front Engine RWDHanding Time 1 DayMaterial Iron Aluminium Alloy RubberColor Silver BlackType Air Suspension CompressorCustom Bundle NoReturn Policy 30 Days Free ReturnManufacturer Warranty 1 YearQuantity SingleFitment Type Direct ReplacementOE Spec or Performance/Custom OE SpecAdjustable YesFeatures SealedBrand cfspeed-autopartsManufacturer Part Number CF115988J01Interchange Part Number 6L1Z5319AA,1L1Z5319AA,1L1Z5319BAOther Part Number 6L143B484AA ,4L1Z5319BBSuperseded Part Number 5L1Z5319AA,4J1005CImportant Notice Just like the picture, Professional installation requiredInstruction Manual NoMetal Fitting Connection Design Standard Hose Thread
Payment
- Payments are expected within 7 days after the last winning auction is closed; Otherwise Unpaid Item Dispute will be filed with eBay.
- Product will be shipped within 2 business days after full payment is received and verified. Delivery Time is about 3-7 business days to most of countries.
- All domestic orders will be shipped via USPS, UPS or FedEx from our US warehouse and usually arrives to your door in about 3-5 business days.
- We ship the package to your shipping address in eBay instead of the one in PayPal. Please tell us your shipping address if it is different from the one in eBay.
- The tracking number will be given for the customer to check the shipping status online (registered or faster service only).
- We are not responsible for any wrong or undeliverable addresses. Please verify and update your shipping address on eBay during checkout.
MoneyBackOrExchange
We stand behind every product we sell.
All of our brand new items come with a 30-Days money-back guarantee.
We define the item as defective only if it doesn't function as described.
It is the buyer's responsibility to understand the item description before bidding.
We are dedicated to provide high quality products and satisfied customer service to our sincerely customers, so if there's any questions or problems with our products or service, feel free to contact us please.
Shop Category Store Home Suspension Parts ◈ Air Strut Assembly ◈ Air Spring ◈ Air Suspension Compressor ◈ Solenoid Valve Block ◈ Truck & Trailer Springs Truck & Trailer Springs Vehicles ◈ Audi ◈ Bentley ◈ BMW ◈ Buick ◈ Cadillac ◈ Chevrolet ◈ Citroen ◈ Dodge ◈ Ford ◈ GMC ◈ Hyundai ◈ Infiniti ◈ Isuzu ◈ Jaguar ◈ Jeep ◈ Land Rover ◈ Lexus ◈ Lincoln ◈ Mercedes-Benz ◈ Mercury ◈ Oldsmobile ◈ Porsche ◈ Saab ◈ Toyota ◈ Volkswagen Suspension Kits Air suspension valves solenoid Shocks & Struts Struts & Suspension Kit & Hubs coilovers complete strut Brake System Parts ◈ Brake Calipers ◈ Brake Drums & Brake Shoes ◈ Brake Pads & Brake Shoes Lift Supports Bumper Assembly Steering Knuckle Mass Air Flow Sensor Strut Mount air dryer Power Brake Booster trim tilt motor Removal Tool Control Arm Camber Arm dipstick Cylinder Piston Kit snorkel air intake Ballast Module Horns & Sirens Mud Flaps Protection Shield & Lift Kit Coil Springs Clock Spring Radius Arm OtherHot Item Front Struts + Rear Shocks + Suspension Kits For 2001-2005 Honda Civic USD 292.98 For 2011-2016 Hyundai Elantra Front Struts Tie Rods Sway Bar Suspension Kits USD 190.23 For Chevy Silverado GMC Sierra 1500 Front Struts Control Arm Ball Joint Tie Rod USD 245.77 For 07-2012 Nissan Versa Front Struts Lower Control Arm Tierod Sway Bars 10pcs USD 163.07 Pair Front Left and Right Shock Strut Assembly For Chevrolet Equinox GMC Terrain USD 66.37 Excellent DeliveryHelp & InfoPayment PolicyShipping PolicyReturn PolicyFAQAbout UsNew List Item 2x Front Brake Calipers For 2004-2012 Chevrolet Malibu With Bracket Accessories USD 97.66 Rear 2x Air Suspension Shock Absorber + Compressor For Infiniti QX56 QX80 11-20 USD 563.78 1x Rear Left Brake Caliper For 2000-2004 Ford F-350 Super Duty With Bracket Kit USD 81.98 2x Front Brake Caliper For 2009-2014 Chevrolet Express 1500 With Bracket Kits USD 155.98 1x Rear Right Brake Caliper For 02-06 Cadillac Escalade EXT GMC Yukon W/ Bracket USD 90.88 Air Suspension Compressor Pump For Ford Expedition Lincoln Navigator 1998-2006*OEM Part Number:
6L1Z5319AA 1L1Z5319AA 1L1Z5319BA 6L143B484AA
*Compatibility Chart:
1, You can distinguish specific model of an automobile by VIN(Vehicle Identification Number).
2, VIN(Vehicle Identification Number) consists of total 17 English letters and arabic digits.
3, VIN does not include the letters I (i), O (o), and Q (q) (to avoid confusion with numerals 1 and 0).
1997 - 2006 Ford Expedition
1998 - 2006 Lincoln Navigator
Note:1997-2002: 4WD models use two air lines, while 2WD models use only one air line
2003-2006: use only one air line regardless of 4WD or 2WD
*Generation & Evolution:
Ford Expedition
UN93 First generation (1997-2002)
U222 Second generation (2003-2006)
U324 Third generation (2007-2017)
U553 Fourth generation (2018-present)
Lincoln Navigator
Based directly on the Ford Expedition
UN173 First generation (1998-2002)
U228 Second generation (2003-2006)
U326 Third generation (2007-2017)
U554 Fourth generation (2018-present)
*Platform Drive Layout:
Base Model-Rear Wheel Drive Layout
4Matic Model-Four Wheel Drive Layout
*Removal Guideline:
Caution: Damage to the vehicle and air suspension system can be incurred if work is carried out in a manner other than specified in the instructions or in a different sequence.
1.To avoid the possibility of short circuits while working with electric components consult your owner's manual on how to disconnect your battery.
2.Consult your vehicle owner's manual, service manual, or car dealer for the correct jacking points on your vehicle and for additional care, safety and maintenance instructions. Under no circumstances should any work be completed underneath the vehicle if it is not adequately supported, as serious injuries and death can occur.
1.Set steering to straight.
2.Raise vehicle.
3.Remove the front skid plate from underneath the vehicle to expose the air suspension’s compressor.
4.Locate and remove the air line from the compressor. Remove the air line fitting from the air line and discard.
5.Locate and remove the two(2)electrical connectors from the compressor.
6.Pinch and slide the clamp off of the fitting to remove the larger rubber hose from the compressor.
7.Locate and remove the three(3)mounting nuts holding the compressor to the vehicle.
8.Remove the compressor and mounting hardware from the vehicle.
*Installation Guideline:
Installation is in reverse order of air suspension compressor pump removal.
*Warning & Notice:
1.When the air compressor being replaced, the matching relay must be replaced according to the corresponding vehicle. If there is something wrong with the relay which leads the compressor to continuous operation without any break, it will burn out the electric motor or other plastic part.
2.When the air compressor being installed, the critical parts such as rubber shock pad and damping spring must be fully fixed on the stand without short installation or missing installation (The air compressor is unequipped with parts). With the anti-vibration parts of short installation or missing installation, a loud noisy instance will happen when the air compressor is working for the sake of resonance.
3.Distribution valve, shock absorber, air tank and tube connector must be checked after air compressor installed to ensure air-tightness. The lifespan of the air compressor will be shortened if the leakage exists.
4.Increased noises while the compressor is running may be caused by a non-functioning compressor mounting. Change the rubbers and springs of the mounting in any case.
5.A porous intake hose often is the cause for a breakdown of the compressor. Change the intake hose and preferably also the filter and noise absorber, because we do not want the compressor to breakdown because of these.
6.Change the relays before installing the compressor even if it seems to still work. This is also a specification by the car manufacturer. Be sure to change the right relays. Relays look similar, that is why there is a risk to change the wrong relays.
7.Be sure to check whether the system is leakproof after repairing. The easiest way to do this is to park the vehicle. Wait for the system to automatically re-adjust if your car has this feature. Then measure the heights from the ground to the lower edge of the fender as exactly as possible and take notes. On the day after measure these heights again and compare them with the ones before. Even a small difference will lead to a damaged compressor and damaged valves in the long run.
Item SpecificsPlacement on Vehicle :Left Right Front RearSize :Single Dimension(CM) 32.00(length)*25.00(width)*22.00(height)Single Weight(KG) :4.77Included Hardware :CompressorPackage :BoxLubrication Style :Oil-FreeDrive Layout :Front Engine RWDHanding Time :1 DayMaterial :Iron Aluminium Alloy RubberColor :Silver BlackType :Air Suspension CompressorCustom Bundle :NoReturn Policy :30 Days Free ReturnManufacturer Warranty :1 YearQuantity :SingleFitment Type :Direct ReplacementOE Spec or Performance/Custom :OE SpecAdjustable :YesFeatures :SealedBrand :cfspeed-autopartsManufacturer Part Number :CF115988J01Interchange Part Number :6L1Z5319AA,1L1Z5319AA,1L1Z5319BAOther Part Number :6L143B484AA ,4L1Z5319BBSuperseded Part Number :5L1Z5319AA,4J1005CImportant Notice :Just like the picture, Professional installation requiredInstruction Manual :NoMetal Fitting Connection Design :Standard Hose ThreadPaymentShippingReturnsContact Us
- Payments are expected within 7 days after the last winning auction is closed; Otherwise Unpaid Item Dispute will be filed with eBay.
- Product will be shipped within 2 business days after full payment is received and verified. Delivery Time is about 3-7 business days to most of countries.
- All domestic orders will be shipped via USPS, UPS or FedEx from our US warehouse and usually arrives to your door in about 3-5 business days.
- We ship the package to your shipping address in eBay instead of the one in PayPal. Please tell us your shipping address if it is different from the one in eBay.
- The tracking number will be given for the customer to check the shipping status online (registered or faster service only).
- We are not responsible for any wrong or undeliverable addresses. Please verify and update your shipping address on eBay during checkout.
MoneyBackOrExchange
We stand behind every product we sell.
All of our brand new items come with a 30-Days money-back guarantee.
We define the item as defective only if it doesn't function as described.
It is the buyer's responsibility to understand the item description before bidding.
We are dedicated to provide high quality products and satisfied customer service to our sincerely customers, so if there's any questions or problems with our products or service, feel free to contact us please.
All rights reserved.


Front & Rear Disc Rotors+Brake Pads Kits for 2003-2006 Ford Expedition Navigator
By Unbranded

$191.90
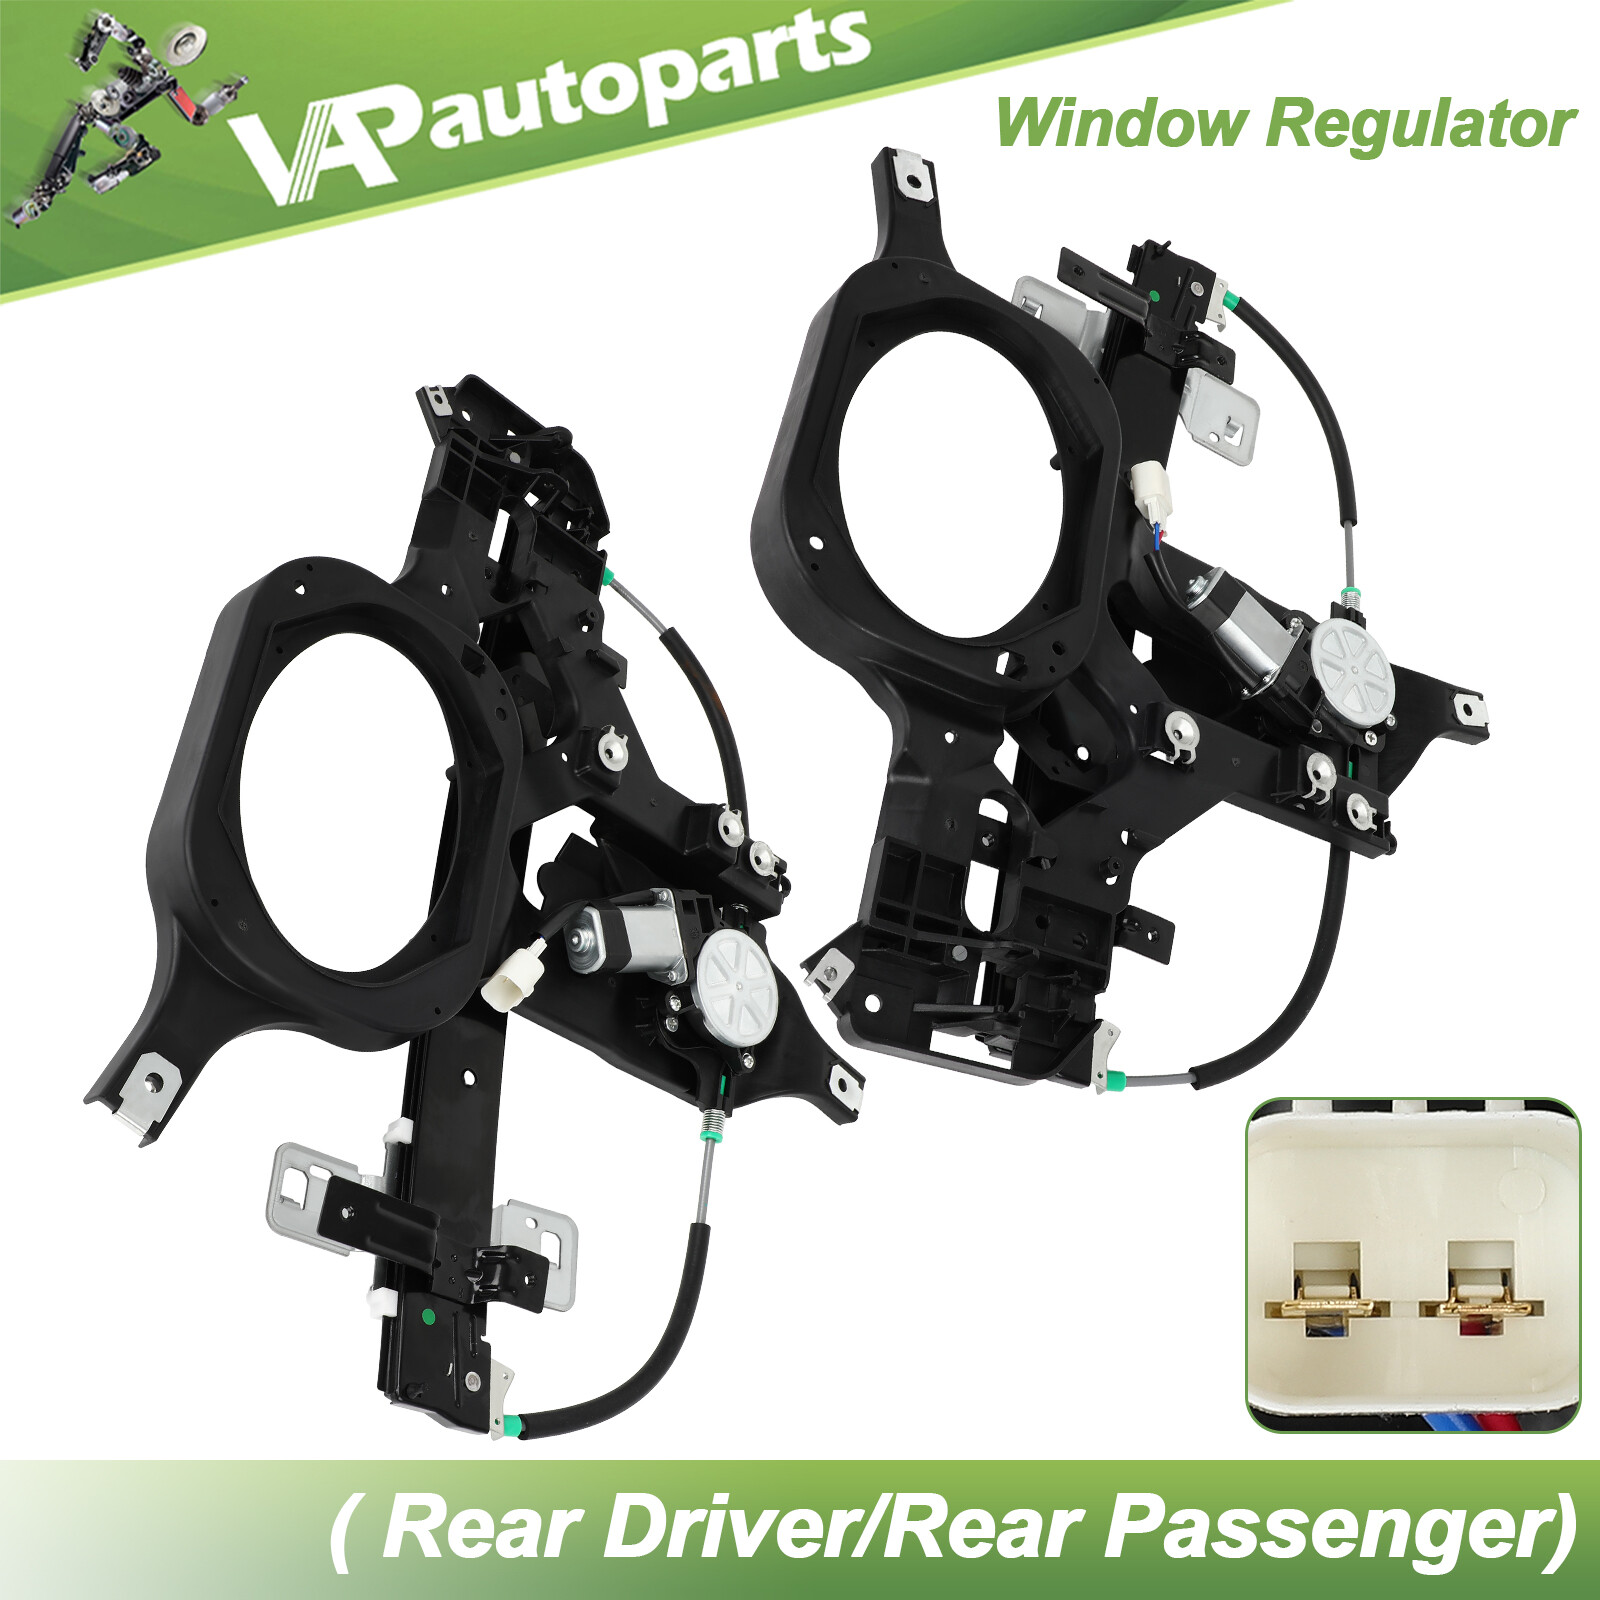
For Ford Expedition 03-06 Rear Left Right Power Window Regulator w/ 2 pin Motor
By Unbranded
$114.49





 .
